Monday, November 28, 2011

Ornaments

We all know that we have some awesome talent working at our Santa Maria Beverly’s (if we do say so ourselvesJ)!  Some of that talent is featured in the beautiful trees that have been expertly put together and displayed around the store!  We have, as we mentioned before, Linda and Bev to thank for the magnificent eye candy that they have created out of a few trees, some ornaments, a bit of ribbon and a whole lot of creativity!  What gets their creativity flowing? It all starts with inspiring ornaments.  Beverly’s carries a variety of ornaments in a variety of themes.  Since it is Christmas time and it is highly likely that you might be invited to a get-together or two, we have another suggestion for what to do with the ornaments.  It’s a simple one:  Pick up a few unique ornaments to have as hostess gifts.  Ornaments are a great gift to give right before Christmas since they can be enjoyed right away.  They are also the perfect gift for someone that you want to do something nice for but can’t afford to spend a lot of money on.  Here we are featuring just a few of our cute, beautiful and fun ornaments.  There are many more to see, so make sure to take some time to explore the store. 

Cute and fun for the dog lover...
Red Dog OrnamentWhite Dog Ornament
For the angel(s) in your life... a teacher, a crossing-guard, a doctor, a nurse, your favorite cashier at the grocery store, the mailman/mail-lady, the babysitter...
     White Angel OrnamentsPink Angel Ornament
For the Christmas party hostess (who happens to be an awesome cook)... 
               Baking Pan OrnamentColander Ornament

The wine lover and party animal...
Wine Bucket OrnamentWine Glass Ornament

Wine Bottle Ornament
For the diva, the girly-girl, the hairdresser...

Blue Purse OrnamentShoe Ornaments


Pink Shoe OrnamentsRed Purse Ornaments

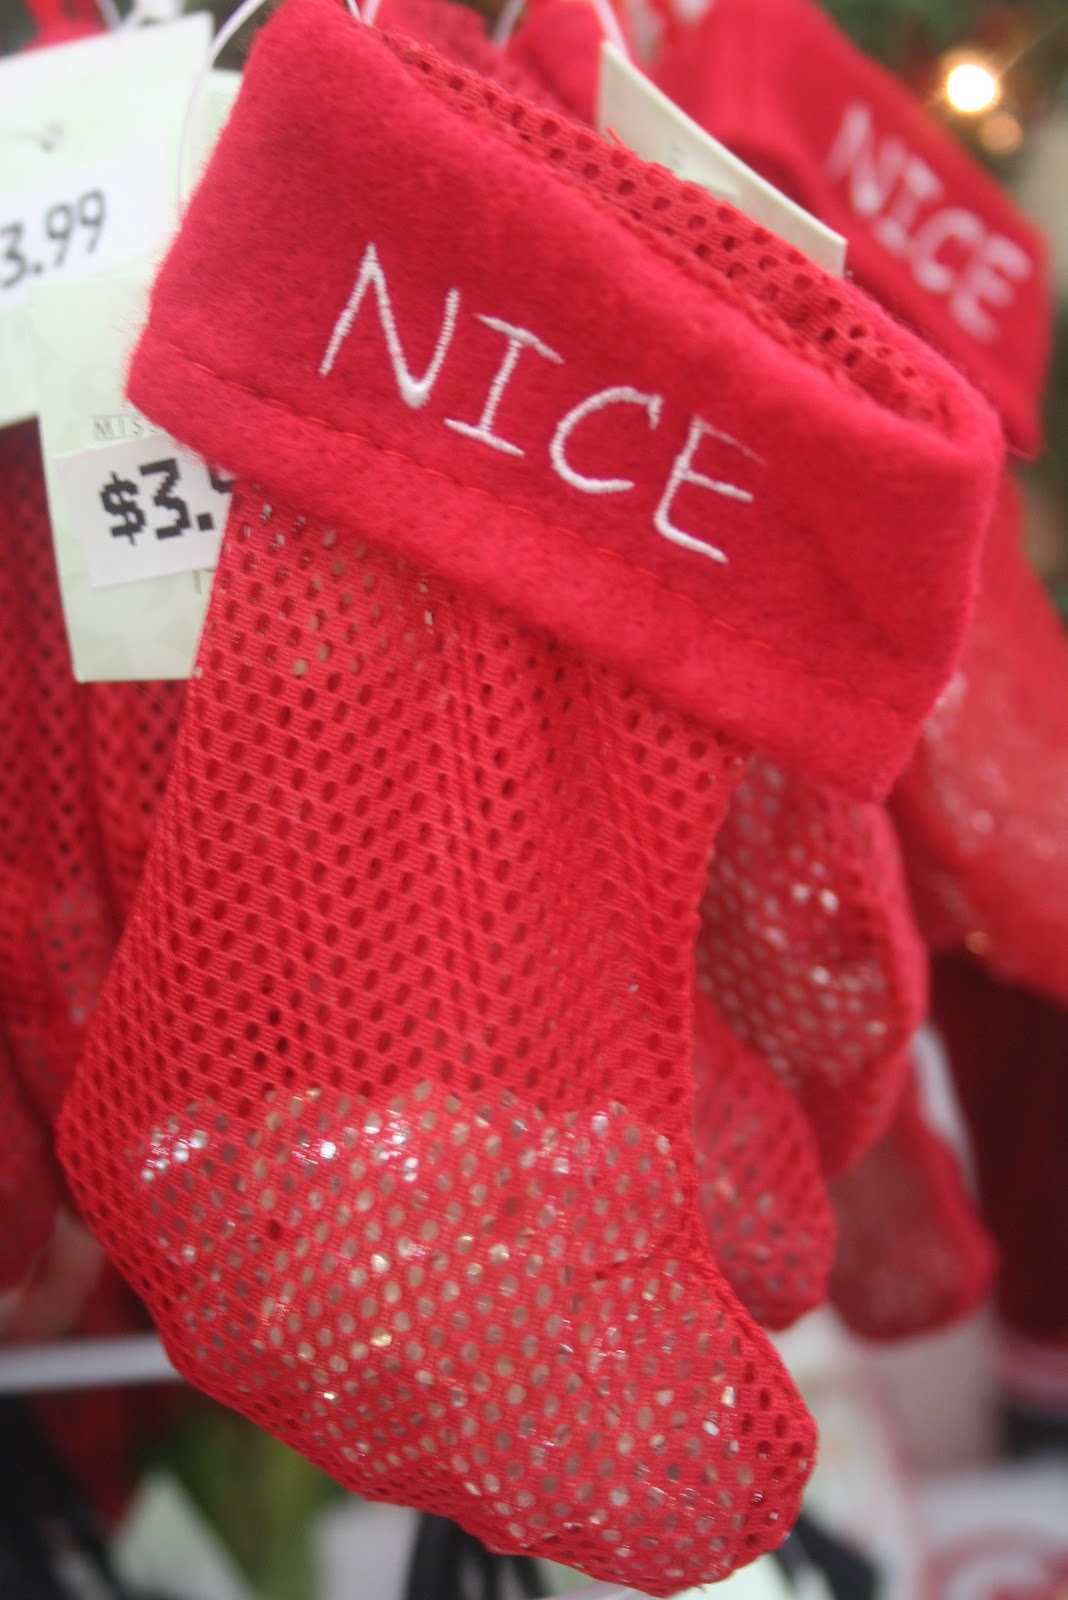
For the Naughty and the Nice...
     Naughty Stocking OrnamentNice Stocking Ornament
For the one that holds the key to your heart...
Key Ornament
For the "pickle" or the "roadster"...
      Christmas Pickle Ornament Santa on a Motorcycle Ornament

 The actor/actress or maybe the person that does your facials...
Mask Ornament
For the sweetie...

          Cookie Tree Ornament     Peppermint Candy Ornament

And these are just A FEW of the ornaments that we have!  We have many, many more in the store! So, come on in and check'em out!  Thanks for taking a peek at our latest blog post and make sure to keep a look out for more blog posts about Christmas crafts and ideas.

Now Go! Be Crafty!


Wednesday, November 23, 2011

A Quick No-Sew Thanksgiving Tablecloth

This tablecloth took me about 2 hours to make and honestly, I’m not that great with fabric. For those of you that are, it’ll probably take you about an hour, if that!  The one we made is, of course, for Thanksgiving but change up the colors and add some holly leaves and berries and you’re all set for Christmas.  Burlap is super easy to work with and awesome this time of year!  I personally love the rustic look and feel of anything burlap.  There is something very comfortable and homey about its texture and color.  If you don’t get a chance to make this particular tablecloth, I hope that at the very least it serves as inspiration for other holiday projects!
  
MATERIALS:

2 ½ Yards of Burlap (in Fabric)
1 bottle of FabriTac (aisle 8)
Artificial Glittered leaves (Seasonal)
3 different patterned/colored fabric pieces or fat quarters (aisle 22)
4 pieces of brown felt (aisle 22)
Fabric Pencil

Trace the letters G, I, V, E, T, H, A, N, K, & S with the fabric pencil on the brown felt.  Cut out the letters and place on the fabric pieces.  I alternated the letters between orange, green and yellow patterned fabric.  We glued the felt letters with FabriTac onto the fabric then cut them into squares but you could cut out the squares then glue down the letters...totally up to you.


 Once the letters are cut and glued onto their squares of fabric we arranged them onto the burlap, centering them where we wanted them to go.  Using the FabriTac, we glued the squares onto the burlap.  We then took the glittered fall leaves and glued them randomly on the burlap until it looked the way we wanted it.  Done!   We actually think that this tablecloth would work best on a buffet but you, of course, can do what ever you want with yours!


Thank you for checking out our latest blog post.  We hope that you are as inspired by us as we are by all of you!
Now Go!  Be Crafty!

Wednesday, November 16, 2011

Quick Gifts & Stocking Stuffers for Kids Under $10

Quick Gifts and stocking stuffers are probably my most favorite things to shop for!  It’s fun to find that perfect little something to stick in that someone special’s  stocking or that cute little something for someone that you don’t want to forget.  So this blog post is devoted to just  A FEW of the Christmas goodies that we have at Beverly’s in Santa Maria.  The coolest part about this particular group of items:  They’re all under $10!  Cool, right?

Kids Stockings....
Paint by Numbers SetColored Pencil Set
Painting by number and color penciling by number is fun and entertaining, not to mention a perfect stocking stuffer! 

Easy Stitchery Sets
 These are super cute for that crafty tween or teen!

Perler BeadsPerler Beads
Have you ever tried these?  Perler beads are fun to do with your child and easy enough for them to do on their own.  They are not for small children who still put things in their mouths. 
Justin Beiber Stickers!
Don't underestimate the power of the Beibs! Justin Beiber stickers..you can't go wrong!
Glow in the Dark Silly Putty
This silly putty glows in the dark...how cool is that?
Animal Erasers
The little animal erasers are all the rage with the elementary school kids and they're on clearance!  Woo Hoo!
Magic Snow Set

But the coolest of the cool (no pun intended) goes to Magic Snow!! Ok, seriously, how fun would that be for any California kid to do on Christmas morning?
  
Teachers and Co-workers....
Scarves
The scarves are pretty and colorful!  Perfect for that person that you know that loves to accessorize!

Washcloth Donuts!
Ok, so when I first saw these I thought, “Really? A donut that turns into a washcloth? Why?” BUT, they’re super cute AND actually would be an awesome addition to a spa goodies gift bag. Now...I get it.J
Teacher OrnamentTeacher Ornament
                                   
Teachers like getting little ornaments that tell them how wonderful and appreciated they are especially if they come a small plate of yummy cookies or some delicious homemade peppermint bark!
Crown Ornaments
These little crown ornaments are sooo cute and sparkly...perfect for the head-nurse or queen bee at the office!  They inspire smiles!
 Pet PlaquesPet Plaques              
These wall plaques are perfect for the animal lover in your life…we all have at least one.

       Scent Bottle     Scent Bottle

Sometimes giving away smelly stuff seems a little impersonal so I try to avoid it but then I saw these!  The bottles are really pretty and fancy looking: decorative and functional.


There you go! Just a few of the goodies that we have at Beverly's in Santa Maria just in time for Christmas!  AND we haven't even gotten into Gifts you can craft...but we will!

Now Go! Be Crafty!

Sunday, November 13, 2011

Simple Candy Making

While preparing for Christmas in Candyland we thought it might be kind of cool to make our own peppermint bark.  Well, that was a good call!  Our peppermint bark was a hit!! We had several customers ask, “Where did that candy come from?”  Some were a little surprised to discover that we had made it ourselves!  So we decided that peppermint bark is definitely something we needed to show our followers how to make!  First of all, it’s SUPER easy to make (really hard to mess up!) and kind of impressive.  You could always buy peppermint bark but we know how you crafty people are. J Making stuff is what you do and that is one of our favorite things about you!  


We used Guittard vanilla melt'n mold (Aisle 10, Beverly's Santa Maria) and the firm but crumbly melt in your mouth peppermint candies.


We opened all of the candies in one bag of peppermints and put them in a plastic bag.  We then broke them up with a rolling pin. 
Ok, I'll admit it..this part was FUN!


We melted the chips in a small saucepan (very slowly) stirring frequently. Once the chocolate was completely melted we turned off the heat and dumped in about 3/4 of the candy pieces.  Stirring them gently kept the candy from breaking too much more and melting away completely into the chocolate.  The melted bark was then poured into a prepared pan (Please use extra care not to burn yourself with the hot melted chocolate.) We sprayed a little non-stick cooking spray on foil.  The spray made it easier to lift the candy once it was ready.  Before the candy started to cool we sprinkled the remainder of the candy pieces to make it look extra pretty.  Once it hardened completely, we broke in into chunks.

The finished bark! This tray features some bark that we made with a bottom layer of milk chocolate.  We even accidently scrorched the chocolate and though it did affect the color it DID NOT affect the taste. 
(See, hard to mess up!)


Variations.....


Stir in or top with chocolate chips.

Top with Rainbow Sprinkles...kids LOVE rainbow sprinkles!

Stir in some dried fruit and nuts for a more grown up fancy chocolate.

Or...use Wilton sprinkles.  Turtle Crunch is my personal favorite and can also be found on Aisle 10 at your Santa Maria Beverlys
(along with all of the melting chocolate). 
The Turtle Crunch Sprinkles are especially yummy with the white chocolate!

       Now Go!  Be Crafty!